Sake (Rice Wine) 酒
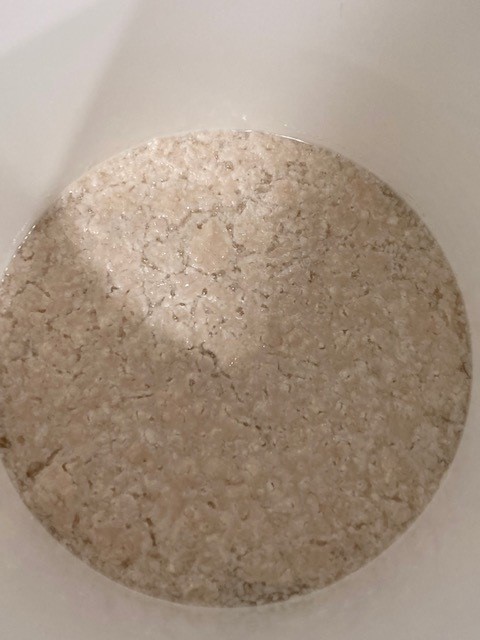
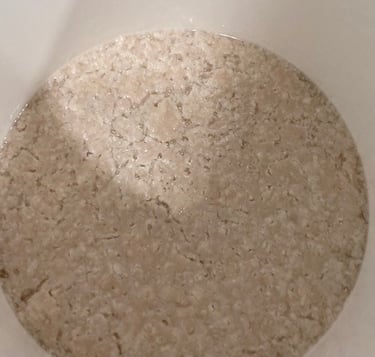
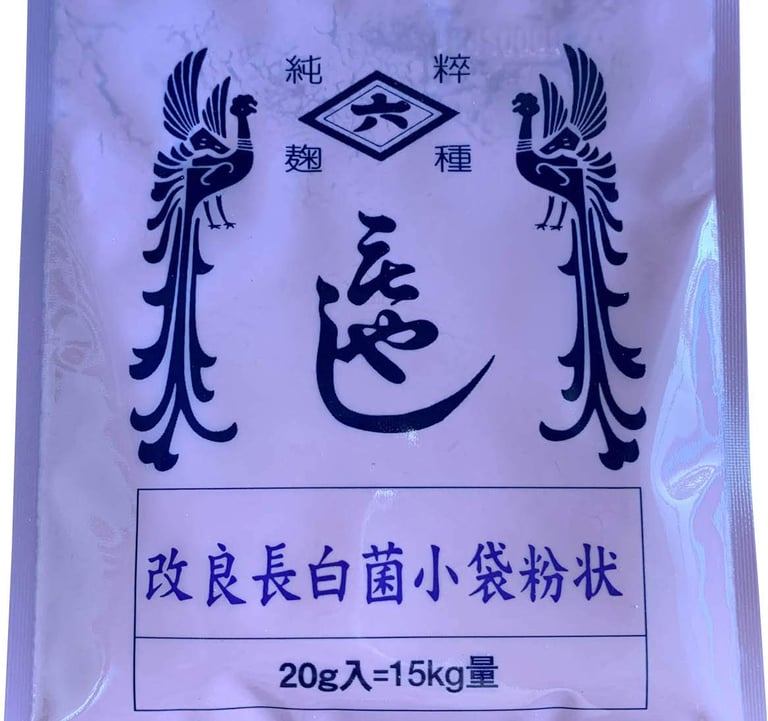
My first Sake making experience is well under way, I'm about a week in and as far as I can tell to this point it is doing exactly what it should, although since it's a bit different from traditional winemaking I'm probably guessing a little bit here. Sake requires a little different process than traditional winemaking, at least in the beginning. Making Sake is more like a cross between brewing beer and making wine in that rice contains no natural sugar, nor is sugar added to ferment in Sake, so the starches in the rice have to be converted into fermentable sugars before fermentation can take place, much like the starches in grains used in brewing have to be converted to sugars in order to be brewed into beer. In brewing beer the process is called saccharification, the process of breaking a complex carbohydrate (such as starch or cellulose) into its simpler sugar components using enzymes, amylase in the case of beer. In the case of Sake this is accomplished using a special enzyme called Koji-Kin (Aspergillus oryzae.) This enzyme (mold spores actually, but enzyme just sounds better) is also used in making soy sauce, miso, and a bunch of other things, so odds are you've eaten it before. The ingredients to Sake are really fairly simple, basically sweet polished rice, Koji-Kin enzyme, a little yeast nutrient, wine yeast, some citric acid, and plain old water. The ingredient list is included on the recipe page, along with a condensed version of the method I used. I bought the rice and enzyme on Amazon, pictures of the brands I used are shown below or on the title page, along with some other pictures of the process. It's not really cheap to make, for this 1-gallon batch I have roughly $35 in ingredients, including the yeast and yeast nutrient that I already had, but considering a gallon of commercial sake would set you back at least $100 and likely more, it's not cost prohibitive. Well, not if it ends up being good enough to drink anyway! Traditional Sake is made with polished rice, the degree of polish being a factor in the quality of the Sake. Polishing removes the harsh outer layer, leaving only the starch-rich inner portion of the grain. I suppose regular medium or long grain rice could be used, but I wanted the best chance for success so I used the polished sweet rice. One packet of the Koji-Kin contains enough spores for several batches, so I may experiment with plain old grocery store rice to see if it works and if so can I tell a difference.
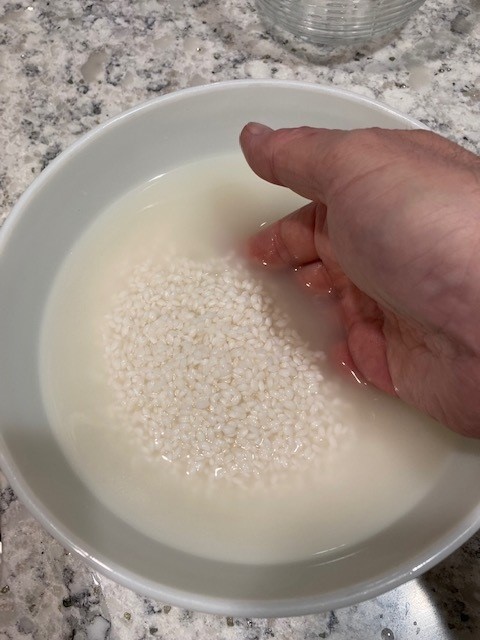
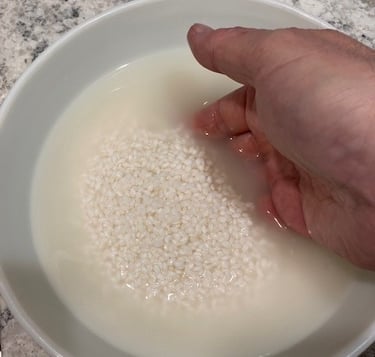
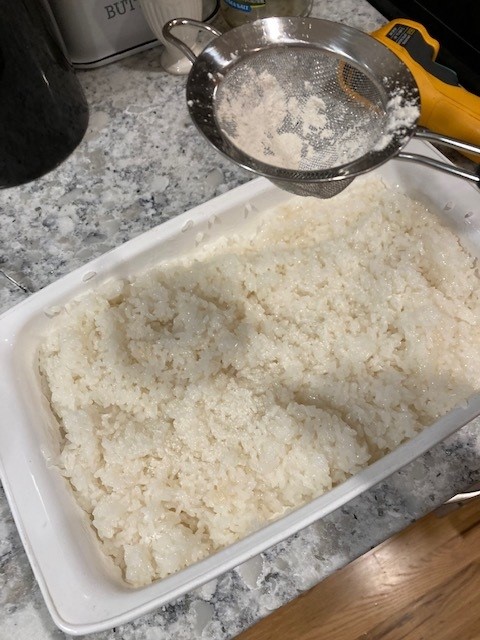
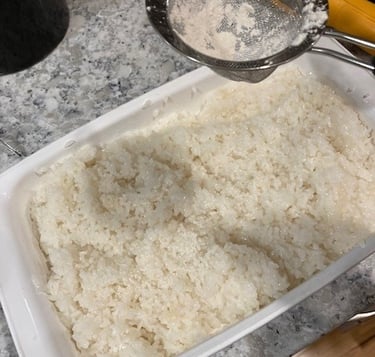
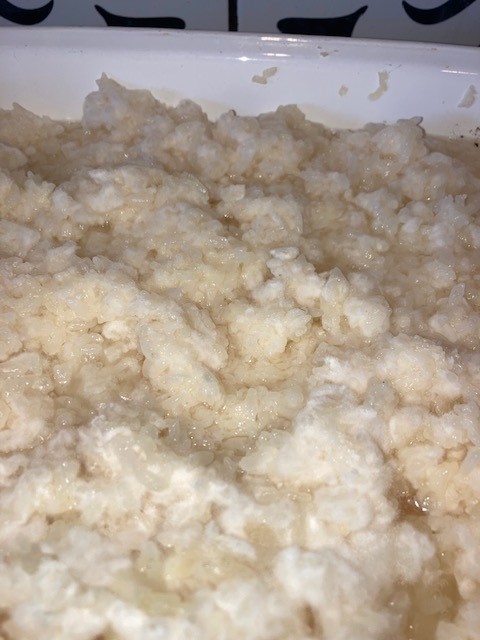
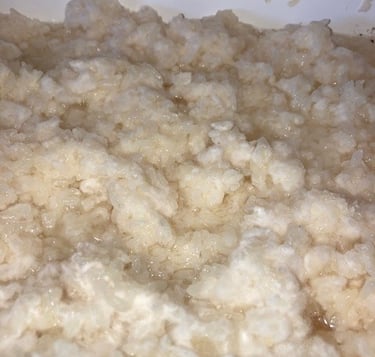
The first step in making Sake, at least by the recipe I used, is to make Kome Koji, or Malted Rice. For this step, we'll need 1 steamed pound of the polished rice. It is important to steam the rice, not boil it. Boiling the rice creates a gummy blob more suitable for gravy than for making Sake. Prior to steaming, soak the rice in water for about an hour, then rinse thoroughly, several times at least until the water runs fairly clear. Let it dry for 20 minutes or so, then steam the rice. When done the rice should be sticky but not gummy and hold its shape similar to sushi rice. I didn't have a steamer so I skipped the 20 minute drying time and used a rice cooker, which seemed to work fine. However, most recipes I read were solidly in the steam only category so I will likely research steaming rice for the next batch. Once cooked, spread the rice out in a 9x13 casserole dish to cool a bit. The rice should be at or around 86 degrees F, if it’s too hot the heat will kill the Koji-Kin spores. Sprinkle the Koji-Kin evenly over the cooled rice, then stir to mix in. I sprinkled it through a screen mesh strainer to help it get more even coverage. Cover with a damp cloth and put in a warm place. The rice/ Koji-Kin mixture should stay warm and damp, 86 degrees being the optimal temperature. Those of you who read the blog post about my process for curing sweet potatoes (which similarly converts the starches to sugars) may recall the Christmas light method, which also worked well here. Basically, placing the rice in the oven with a 100-light strand of incandescent Christmas lights and keeping the door very slightly cracked to prevent overheating should keep the oven close to the magic 86 degree mark. I also kept a small bowl of water in the oven to help keep some humidity in there and keep the rice from drying out as quickly. Let the rice sit for 30-36 hours, checking it every 10-12 hours to make sure the rice is warm and moist, rewetting the cloth or misting the rice with a little water if necessary to keep it damp. Also stir every 10-12 hours to make sure the Koji-Kin is evenly mixed. If the Koji-Kin is properly doing its thing, you should notice a slight cheesy aroma around the 20-24 hour mark. The rice will also start taking on a white fuzzy appearance as you can see in the pictures below. If you sampled the rice at the beginning, you will notice the rice has taken on a slightly sweeter taste after 24 hours or so. Assuming you could get past the white mold growing all over it enough to take a bite, of course.
After 30-36 hours, the Kome Koji is ready to make wine. Cook the remaining 3 pounds of rice, soaking, rinsing, and steaming as before. After steaming, remember to allow the rice to cool to around 86 degrees. In a sanitized fermenter, combine the Kome Koji, water, and the cooked rice, stirring to mix thoroughly. I used a 6.5-gallon fermenter as the volume looked too large for the 2-gallon fermenter I typically use for 1-gallon wine batches. Bottled water is preferred to avoid adding any off tastes from tap water but that is personal preference, I have very clean-tasting well water in my winery and that is all I ever use in my wines. Stir in the yeast nutrient and 1.5 teaspoons of citric acid or acid blend to add some acidity and help prevent any bacterial spoilage. Yeast nutrient wasn't part of the original recipe I used but I always use a little yeast nutrient to help give the yeast a good head start. Feel free to omit it if you want, I can't say it wouldn't ferment without it but mine seems to be going strong so I will keep using it. Add the wine yeast and cover. I used Lalvin EC-1118 for it’s high alcohol tolerance and ability to ferment steadily at lower temperatures. Fermenting at lower temperatures supposedly produces a better Sake. I did use a brewing pad for the first day, keeping the temperature up around 78 to give the Kome Koji a more favorable environment after blending it with the plain rice. After a day on the brewing pad I removed it and left it to continue to ferment at ambient temperature, usually around 63F in my winery. For the first 4 days or so, stir daily to push the rice back down into the must and add some oxygen to help the yeast get established, kind of a Sake version of punching the cap! Since the Koji-Kin will continue to convert the starches to sugars over the course of the fermentation it is difficult to measure SG in this wine, but the final ABV should be between 15-18%. Allow to ferment for 14 days, after which time the fermentation should be pretty well complete. At that point my plan is to transfer the Sake into another secondary with a spigot to aid in bottling, filtering the Sake through a mesh bag to remove all the rice, and squeezing the bag to capture as much Sake as possible. Sake commercially comes both clear and cloudy (the cloudy stuff is called Nigori), so you can bottle at this point if you don’t care if the Sake is a little hazy. I want clear Sake, so I will cold crash my Sake at this point. Cold crashing is the process of quickly cooling the mixture that results in a Sake (or other fermented beverage) that is clear. This quick cooling process causes the yeast cells and other particle suspensions (bits of rice, Koji-Kin spores, etc. in this case) to collect together in larger clumps. These larger clumped-together particles are heavier than the individual particles, so they gradually sink to the bottom of the container and out of the suspension. This process involves simply placing the fermenter in the refrigerator for 24 hours or so. After 24 hours the hazy sake should be below the level of the spigot. Bottle the clear Sake first, then bottle the milky stuff. If the clear Sake tastes good so will the cloudy stuff, it'll just look different. Bottle in colored glass and store in a cool, dark place, as light will adversely affect the Sake. Since I will ferment this Sake dry, there shouldn't be any residual sugar to restart the fermentation, but if I see any signs of that in this batch I will stabilize my next batch either with sulfites or by pasteurization. This Sake should age pretty well, and this recipe is best served chilled. In fact, if you have a wine refrigerator it is best to keep it chilled during storage as well. That will keep it ready to drink and also take the possibility of a restarted fermentation out of the picture.
I will follow this with an update in the next week or so once fermentation has ended and I get it in the bottle and taste-tested. If you do any research at all you will find there are many methods to making Sake, this is simply one of them. Try others and compare!